Gameplay
Over the Hill Best Car: Picks for Each Task
Choose an Over the Hill vehicle for climbing, desert travel or recovery work. Compare class stats, named unlock trails and upgrades before spending Pebbles.
Updated
- Guides
- 45
- Topics
- 3
- On this page
- 6
Choose a vehicle for the trip ahead
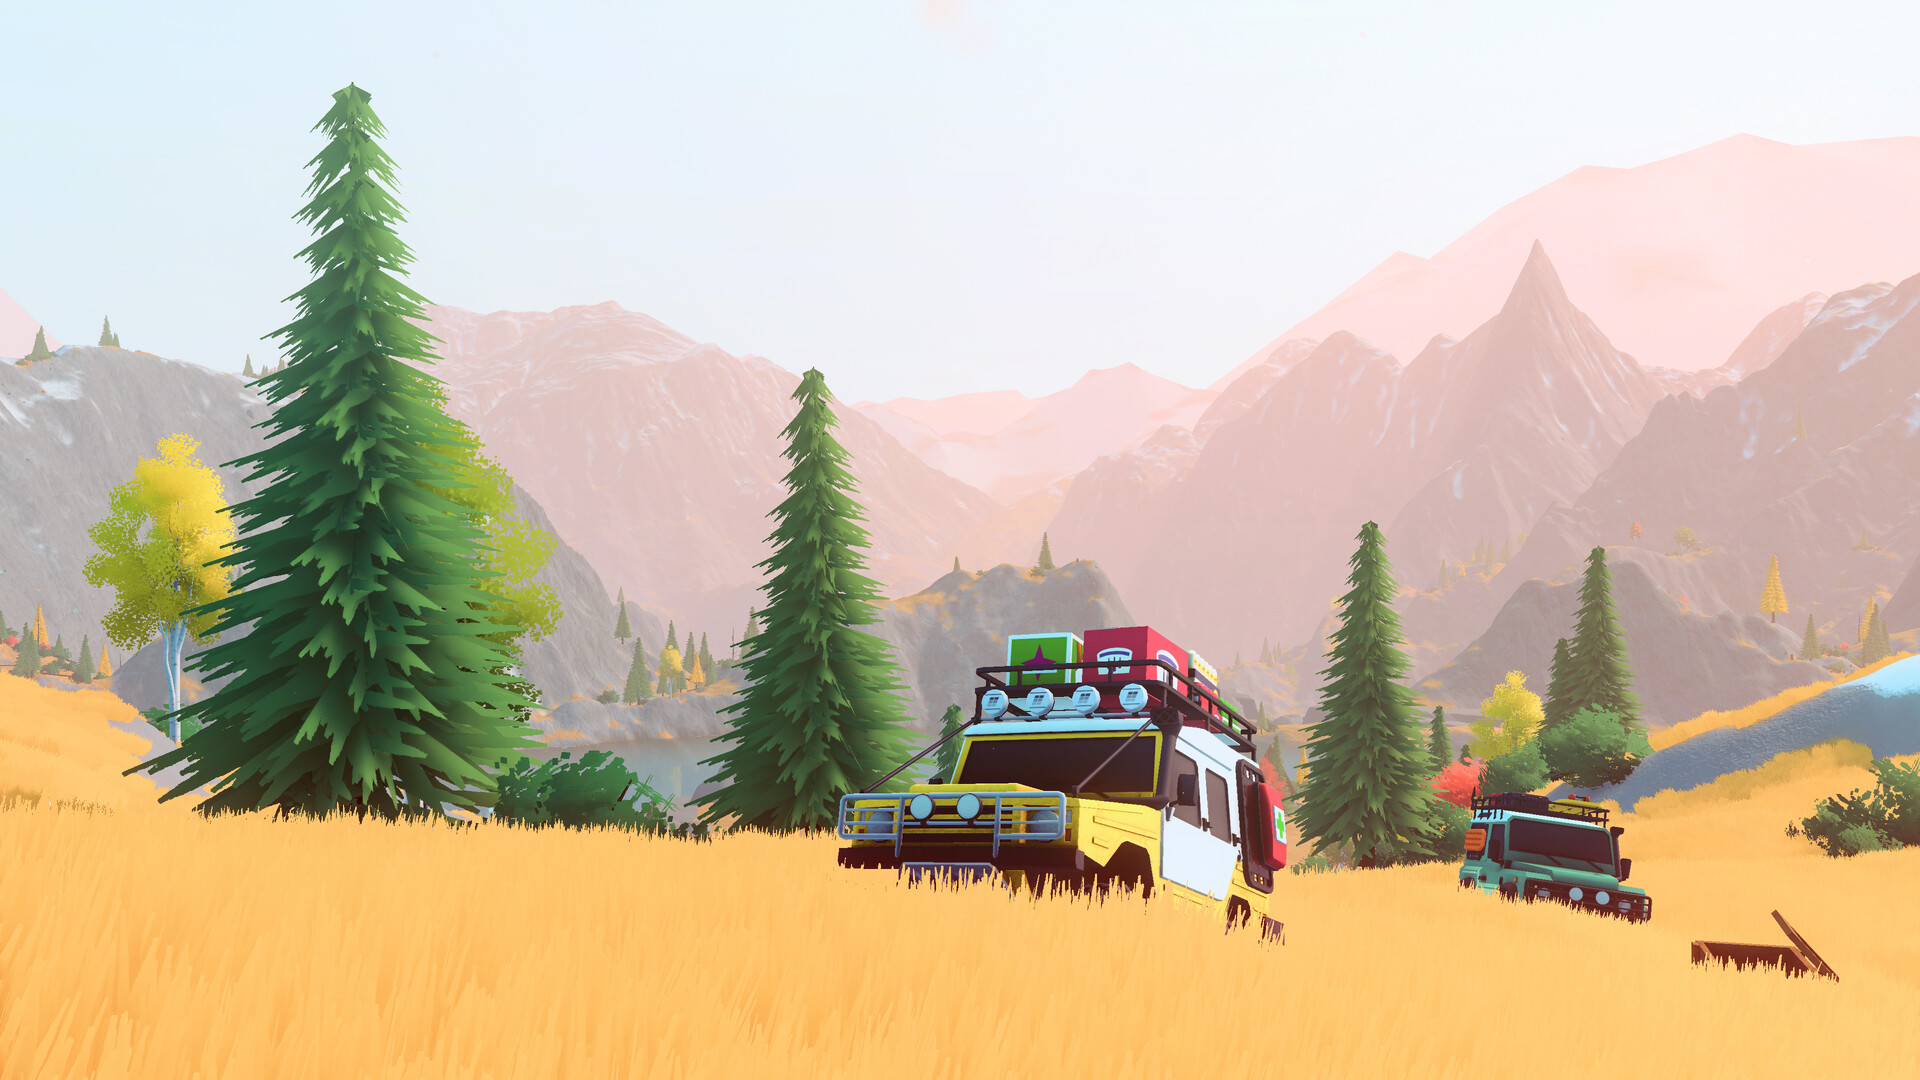
For climbing in Over the Hill, try a lighter Trail vehicle such as The Brick; for desert exploration, consider The Cumbre; for heavy expedition and recovery work, compare Das Mammoth and The Marshal. Treat these as task-based recommendations, with your route, upgrades and recovery equipment deciding the final choice.
The Burro is also worth considering when you want an early alternative to the starting vehicles. Before committing your upgrade budget, decide whether your next outing is mainly exploration, a demanding climb or recovery work. Try the vehicle on familiar ground and spend against the problems you actually encounter.
Compare weight, listed speed and winch force
Start with the class baselines below. Wagons have the highest listed base speed, while Expedition vehicles have the strongest listed winch. Use those differences to narrow your choices, then judge the vehicle on the terrain you intend to drive.
| Option | Details |
|---|---|
| Trail | 1,600 kg; listed base speed 27 km/h; winch force 25,000 N. Consider this class for lighter exploration. |
| Wagon | 2,000 kg; listed base speed 28.8 km/h; winch force 32,000 N. Consider this class when exploring and comparing higher listed travel speed. |
| Workhorse | 2,800 kg; listed base speed 21.6 km/h; winch force 44,000 N. Consider this class when recovery work is a priority. |
| Expedition | 3,200 kg; listed base speed 19.8 km/h; winch force 51,000 N. Compare this class for heavy expedition and difficult recovery tasks. |
For a closer climbing comparison, The Brick lists a maximum steering angle of 38° and suspension travel of 55 cm; The Marshal lists 28° and 70 cm. Those give you different steering and suspension figures to weigh alongside mass. Test a familiar climb before deciding which combination you prefer.
For desert exploration, The Cumbre is the smaller cargo-carrying wagon to consider. A trip centered on difficult recoveries gives you a reason to compare the heavier classes instead. Listed class speed is a comparison point, so keep your expectations tied to the route and conditions you meet.
Unlock the shortlist and compare engine progression
The Marshal and Das Mammoth share the listed engine progression above. Compare their unlock locations with the areas you already have open when choosing your next target. For an earlier alternative, The Burro's unlock is in Emerald Lake, which is available from the start.
Match upgrade spending to your next obstacle
A complete set of performance upgrades costs 675 Pebbles per vehicle. Each purchased stage belongs to that vehicle and requires the preceding stage in its path. Budget separately when switching vehicles, especially if you already have a useful setup.
Upgrade paths charge 25 Pebbles for the first purchased stage, then 50; winch and tool-slot paths also have a 75-Pebble stage. Start with the change that addresses your recurring difficulty. Leave room in the budget to adjust after another outing.
Tire upgrades improve grip, suspension upgrades increase height, and winch upgrades extend reach. For climbing, consider grip and clearance before spending purely for speed. For recovery-focused expeditions, consider winch reach and the tools you want available.
Vehicles begin with 1 tool slot and can carry up to 4 through Tool Slot upgrades. Choose equipped tools at the Mechanic and use them through the radial menu. Include cabins in your travel plans because they restore equipped tools and repair your vehicle.
Build and test a setup for your next trip
- Choose the task before changing vehicles. Decide whether this outing is a climbing attempt, desert exploration or recovery work. Use the shortlist to pick a candidate, then choose a familiar stretch where you can assess it comfortably.
- Visit the Mechanic to select your vehicle, buy the upgrades you have budgeted for and choose equipped tools. Consider a jack for rollovers, planks for gaps or rough ground, and a repair kit for damage. Match the loadout to the obstacle you expect.
- Use Low Range on rough terrain or uphill, then return to High Range on regular terrain. The default Engage 4L/4H control is Tab on keyboard, X on an Xbox controller or Square on a PlayStation controller. Assess the vehicle with the appropriate range engaged.
- When progress stalls, reassess the approach and your recovery options. For manual winching, select an attachment point on your vehicle and then the object to attach to. Change the route or recovery approach before deciding that you need another vehicle.
- Return to a cabin to repair and restore equipped tools, then review what caused trouble. Keep the vehicle if it suits your route and target the next upgrade accordingly. Use another outing to assess the change before committing the rest of your budget.
Retest familiar vehicles after updating
If you are returning after an earlier playthrough, update before judging familiar handling or recovery problems. The official patches adjusted The Ding's center of mass and fixed portable winch anchors sometimes being unavailable despite being within range. Try your familiar route again and judge how the vehicle behaves with your current setup.